Invyt.App Team
May 26, 2026
6 min read
Canva has no built-in RSVP. Here's how to add a clickable RSVP link or QR code to your Canva invitation and track responses for free with Invyt.

Planning your wedding?
Invyt makes RSVP management easy — track guests, dietary needs, and plus-ones all in one place.
Try Invyt free →Canva has no built-in RSVP feature. You design a beautiful invitation, hit share, and then you're on your own: no way to collect responses, no guest list, no way to know who's actually coming. That's not a criticism; Canva is a design tool, not an event platform. The fix is to pair it with a free RSVP service, and the process is faster than most people expect.
This guide shows two approaches: adding a clickable link for digital invitations, and adding a QR code for printed ones.
Before you touch Canva, set up your RSVP page. This takes about two minutes.
Go to invyt.app/signup, create a free account, and start a new event. You'll add your event name, date, and location. Once saved, Invyt generates a unique RSVP link for your event (something like invyt.app/invite/your-event-name).
Copy that link. That's what goes into your Canva invitation.
One thing worth knowing: Invyt does not require your guests to create an account or download anything. They click the link, fill in their name, and select attending or not attending. That's it. For couples already juggling vendor emails and venue logistics, removing friction from the guest side is worth a lot.

There are two methods depending on how guests will receive the invitation.
This method works when you're sharing the invitation as a PDF link, via WhatsApp, email, or Canva's own share feature.
That element is now a live hyperlink. When guests open the design digitally, they can click through directly to your RSVP page.
One detail: if you export the design as a static image (PNG or JPG), links do not transfer. Use PDF (Standard) or share directly via Canva's link-sharing feature to keep the hyperlink intact.
Printed invitations need a different approach since you obviously cannot click paper. A QR code bridges the gap.
Canva has a built-in QR code generator in its Apps panel. Search for "QR Code" inside Canva, paste your Invyt RSVP URL, and Canva places a scannable QR code directly onto your design. Guests point their phone camera at it and land on your RSVP page.
If you want more control over the QR code's appearance (color, shape, with or without a logo), generate it externally — our free event QR code generator or a tool like QR Code Monkey — and import it as an image. Either approach works fine. For the print-ready settings (resolution, contrast, quiet zone), follow how to create a QR code for wedding RSVPs.
For a deeper look at how QR codes work in wedding invitations and whether guests actually use them, see our guide on QR code wedding invitations.
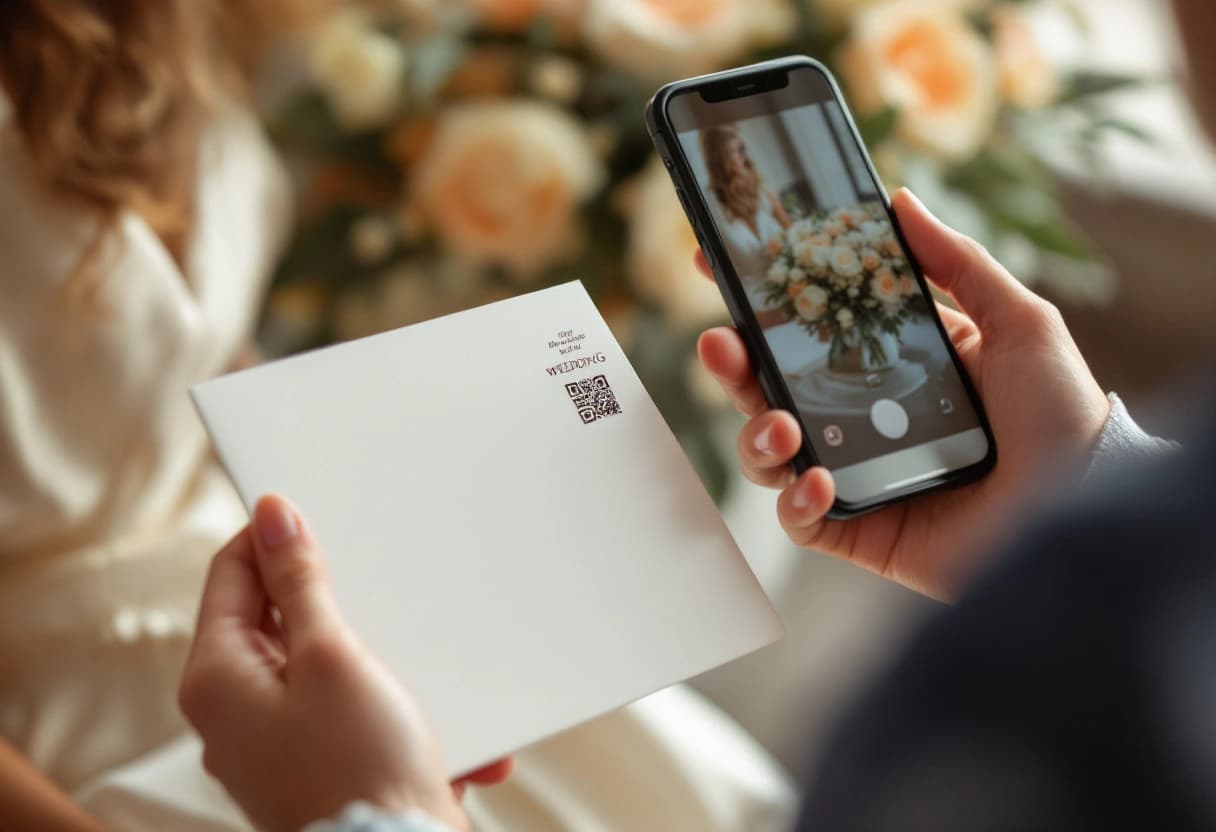
Once the link or QR code is in place, share the invitation the way you planned.
For digital: use Canva's "Share" button to get a public link or send via email/WhatsApp. If sharing on WhatsApp, paste the Invyt RSVP link in the message text as well, since some users open images in preview mode where PDF links don't render as tappable.
For printed: order prints through Canva or export as a high-resolution PDF and print locally. The QR code printed at standard invitation size (5×7 inches) will scan without issues. Smaller than a business card gets unreliable.
As guests RSVP, responses appear in your Invyt dashboard in real time. You can see who confirmed, who declined, who hasn't responded yet, plus-one details, and any dietary restrictions guests noted.
The dashboard also shows your confirmed headcount against your total guest list at a glance, useful when you need a final number for your venue or caterer. For a closer look at what a well-structured RSVP system covers end to end, the complete wedding RSVP guide is worth reading before you finalize your setup.
Most RSVP tools that advertise Canva compatibility want you to upload your Canva design into their system, which means reformatting, re-approving, and losing control of the design. Invyt does not work that way.
Your Canva invitation stays exactly as you designed it. Invyt handles only the RSVP side: the link, the form, the guest list, the dashboard. The two tools never need to touch each other. You keep your design in Canva and your guest data in Invyt.
A few other things that matter in practice:
Guests need zero accounts. Some RSVP tools require guests to log in or verify an email before responding. Invyt skips all of that. Click the link, type your name, click RSVP. Done.
Plus-ones and dietary restrictions are built in. If your invitation includes a "+1 welcome" or a meal choice, you can collect those details directly on the RSVP form without building a custom field from scratch.
It's free for most events. The free tier handles real events with real guest lists. You are not paying to collect RSVPs from 80 wedding guests.
If you're still comparing options, free online RSVP tools compared covers the tradeoffs across several platforms including what you give up on the free tier.
The typical advice is: finish your Canva design, then figure out RSVP. That's backwards.
Create your Invyt event first, copy the link, then design around it. You'll know the exact URL before you open Canva, so you can build the "RSVP here" button with the real link from day one rather than editing it in later. It also means you can test the full guest experience before sending a single invitation. Click your own link, run through the RSVP form, confirm it looks right on mobile.
74% of couples now use a wedding website or digital RSVP tool, according to The Knot's Real Weddings Study. Canva covers the design half. A dedicated wedding RSVP website or RSVP tool covers the response half. The two are complementary, not competing.
Ready to set up the RSVP side? Create your free Invyt event and have a link ready in a few minutes.
No. Canva is a graphic design tool, not an event management platform. It does not collect guest responses, track attendance, or manage guest lists. You need a separate RSVP tool like Invyt to handle that side of things.
Yes. In Canva, select any text or button element, click the link icon in the toolbar, and paste your RSVP URL. When guests open the PDF or shared link digitally, the element becomes clickable and takes them directly to your RSVP page.
Invyt is a strong choice for Canva users because it's free, requires no app download from guests, and gives you a real-time dashboard showing who has accepted, declined, or not yet responded. It also supports plus-ones and dietary restrictions.
Yes. When you pair Canva with Invyt, guests click a link or scan a QR code and RSVP through a mobile-friendly web page. No account, no app, no friction. Just a form they can complete in under a minute.
Create an event on Invyt, share the RSVP link inside your Canva design, and log into your Invyt dashboard to see responses as they come in. The dashboard shows each guest's status, plus-one details, and any dietary notes in real time.
A QR code for wedding RSVPs takes about three minutes to make and costs nothing. Here are the exact print sizes, placement rules, and the testing steps that stop a reprint.
Nearly half of couples now include QR codes on their wedding invitations. Here's how to size them, what to link to, and the mistakes that cost you RSVPs.
Online wedding RSVPs save you hundreds of dollars on paper cards, give you real-time attendance tracking, and spare your guests the stamp hunt. Here's how to set one up the right way.
Join thousands of event organizers who trust Invyt for seamless guest list management
Get Started Free